
1. Connect the Module
Connect the ESP32-C6 SuperMini over USB. If the browser can't see the port, hold the BOOT button while plugging it in.
Free ESP32 firmware that plugs into your air conditioner's UART port in place of the stock Wi-Fi module. Control your air conditioner locally or through Home Assistant, MQTT and Yandex Alice. Flash it straight from your browser — no soldering iron, no mandatory cloud.
Works in Chrome, Edge and other browsers with Web Serial. The page must be opened over HTTPS.
Quick module setup over the AC-Setup Wi-Fi access point or Bluetooth BLE, local air conditioner control, and WQTT connection later.
The RuStore build updates through the store, while the APK from this page updates in-app. Module setup and control work the same in both builds.
Connect the ESP32-C6 SuperMini over USB. If the browser can't see the port, hold the BOOT button while plugging it in.
After flashing, the module brings up the access point AC-Setup-xxxx. Set up Wi-Fi through the Android app over Bluetooth/Wi-Fi or via the page 192.168.4.1. You can connect WQTT later.
Once WQTT registration succeeds, your air conditioner shows up in the device list. Commands go over MQTT, with no Home Assistant needed.
Free, Android 8.0+. Set up the module over Bluetooth and Wi-Fi, and control your air conditioner and smart home from your phone.
PirogovX AC Flash is free ESP32 firmware that turns an ordinary air conditioner into a smart one. The ESP32 module plugs into the UART port on the air conditioner board — the same slot where the stock Wi-Fi module goes — and talks to the air conditioner in its native protocol: Midea, TCL, Haier, Hisense, Gree, Samsung NASA (F1/F2) and others.
The firmware reads the air conditioner's actual state over UART: temperature, mode, fan speed, louver position. You can control it locally — from your phone via the app, from a browser or over MQTT — with no mandatory cloud.
From there, take your pick: Home Assistant, your own MQTT broker, Yandex Alice via WQTT, or Matter and Zigbee for your smart home. Updates install over the air (OTA) straight from this page.
The firmware is free and open source. Installation takes a couple of minutes: pick your air conditioner model, connect the module over USB, press one button.
Home Assistant sees your air conditioner as a full climate entity — mode, temperature, fan and louvers in a single card.
The device shows up in Home Assistant automatically.
Cool, heat, auto, dry, fan and one-degree setpoints.
Commands run through your MQTT broker inside your home.
The Zigbee builds (ESP32-H2 and ESP32-C6) connect to Home Assistant through Zigbee2MQTT: add the external converter esp-ac.js and run Reconfigure on the device. The air conditioner appears in Home Assistant with control over temperature, mode, fan and louvers, plus temperature telemetry.
The Wi-Fi builds work over MQTT — you can use your own broker or the WQTT cloud. The Android app can control Home Assistant climate entities directly (by address and token).
The firmware supports MQTT: local command control and state feedback from the air conditioner. No cloud required — you can run an MQTT broker at home.
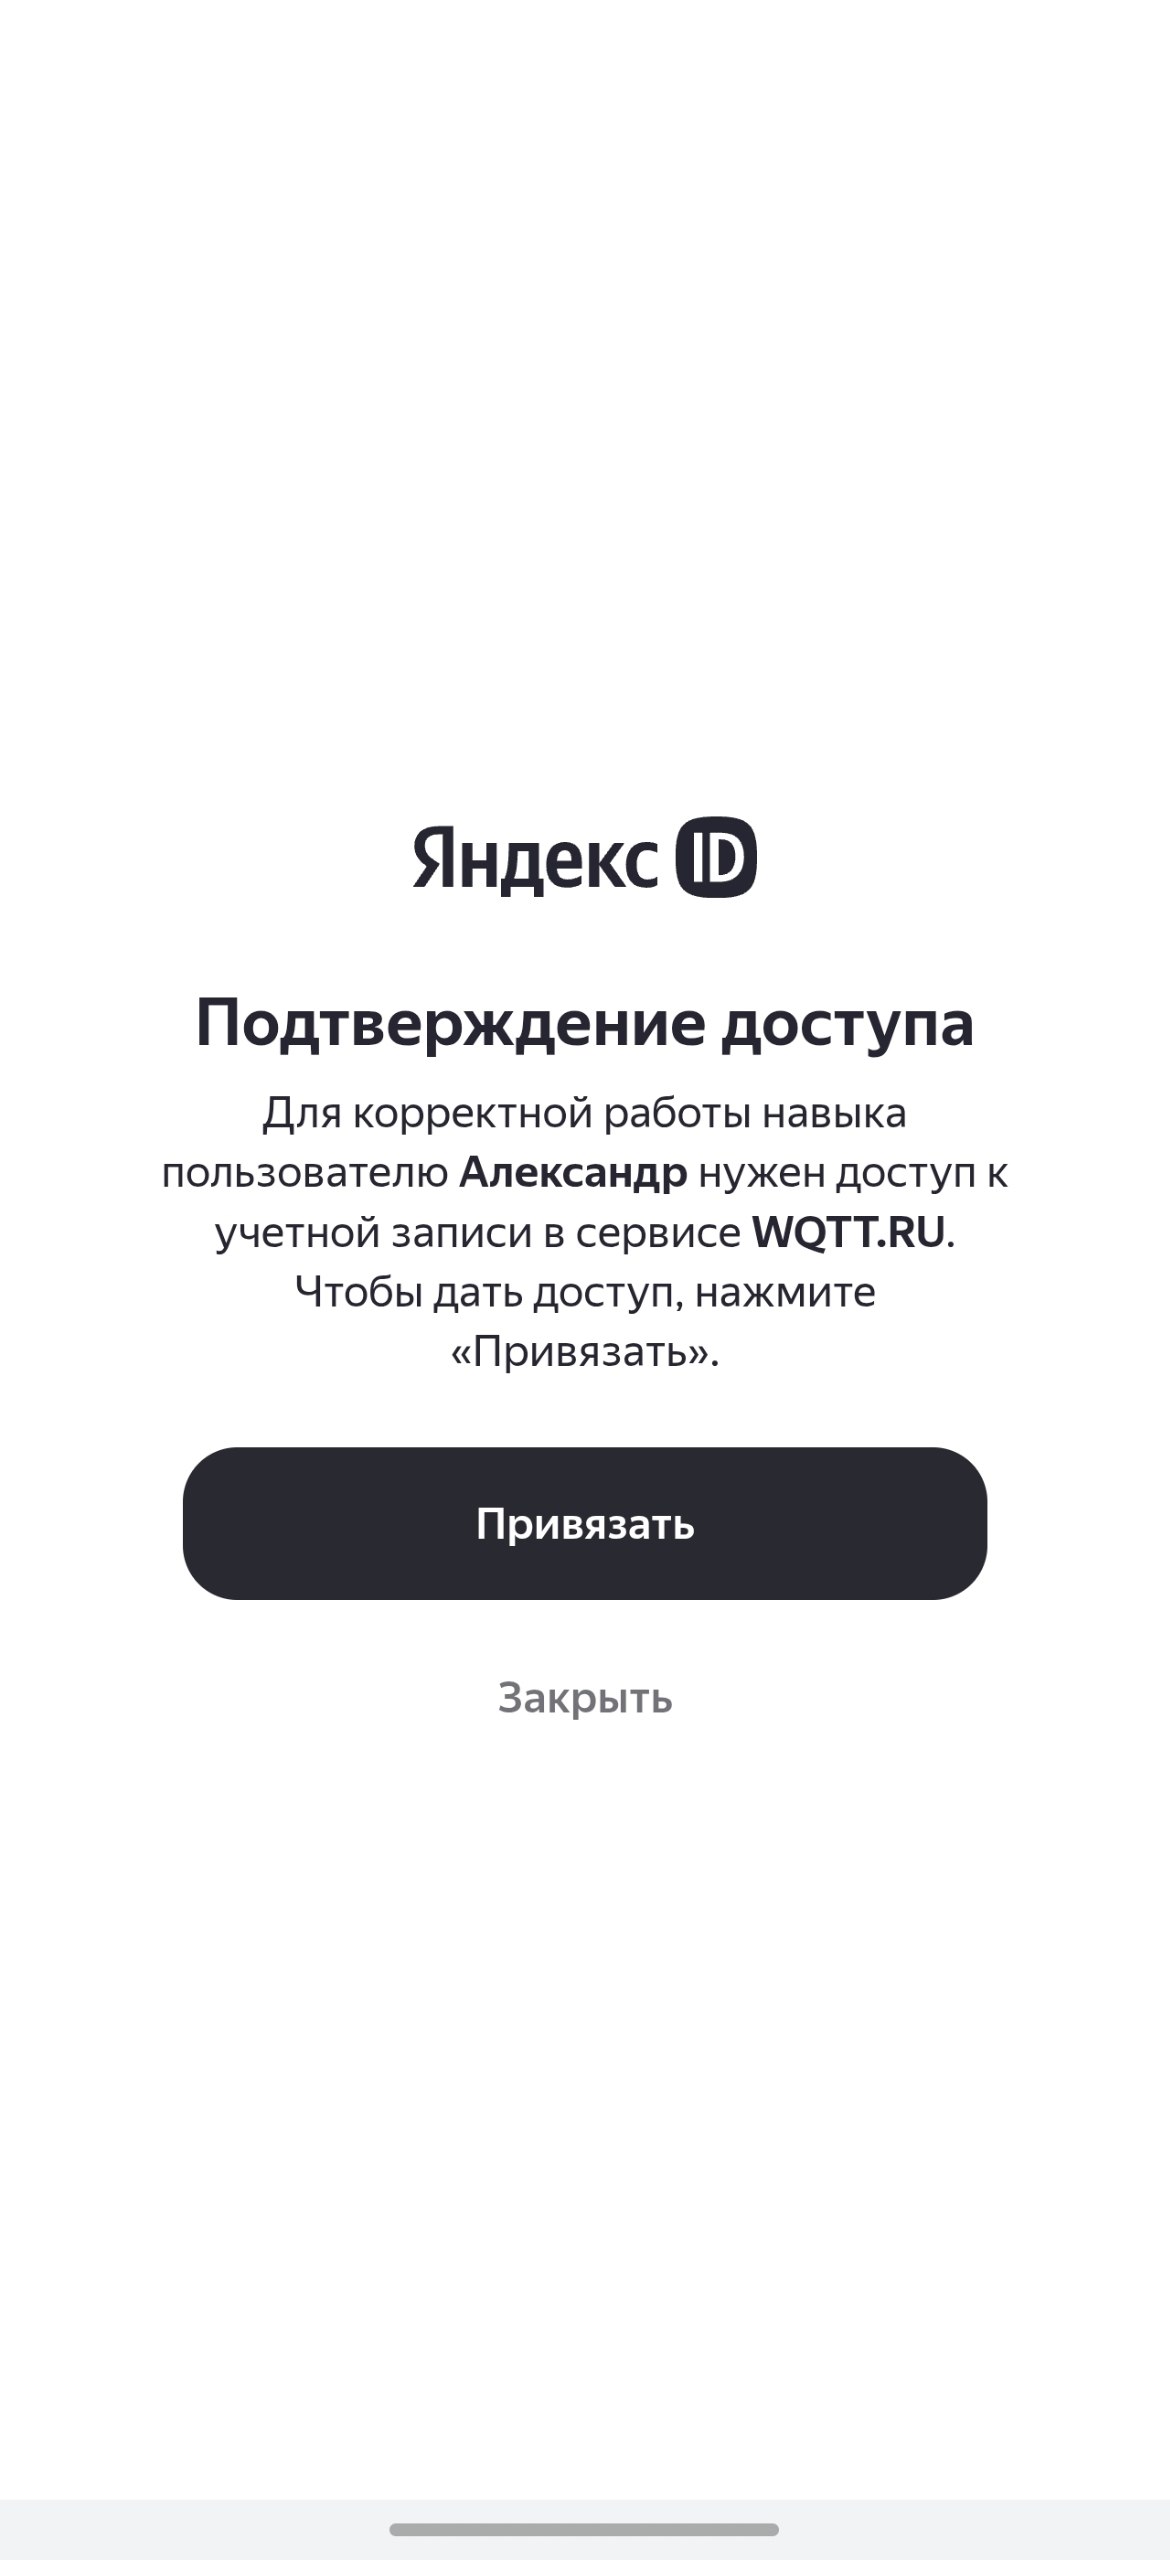
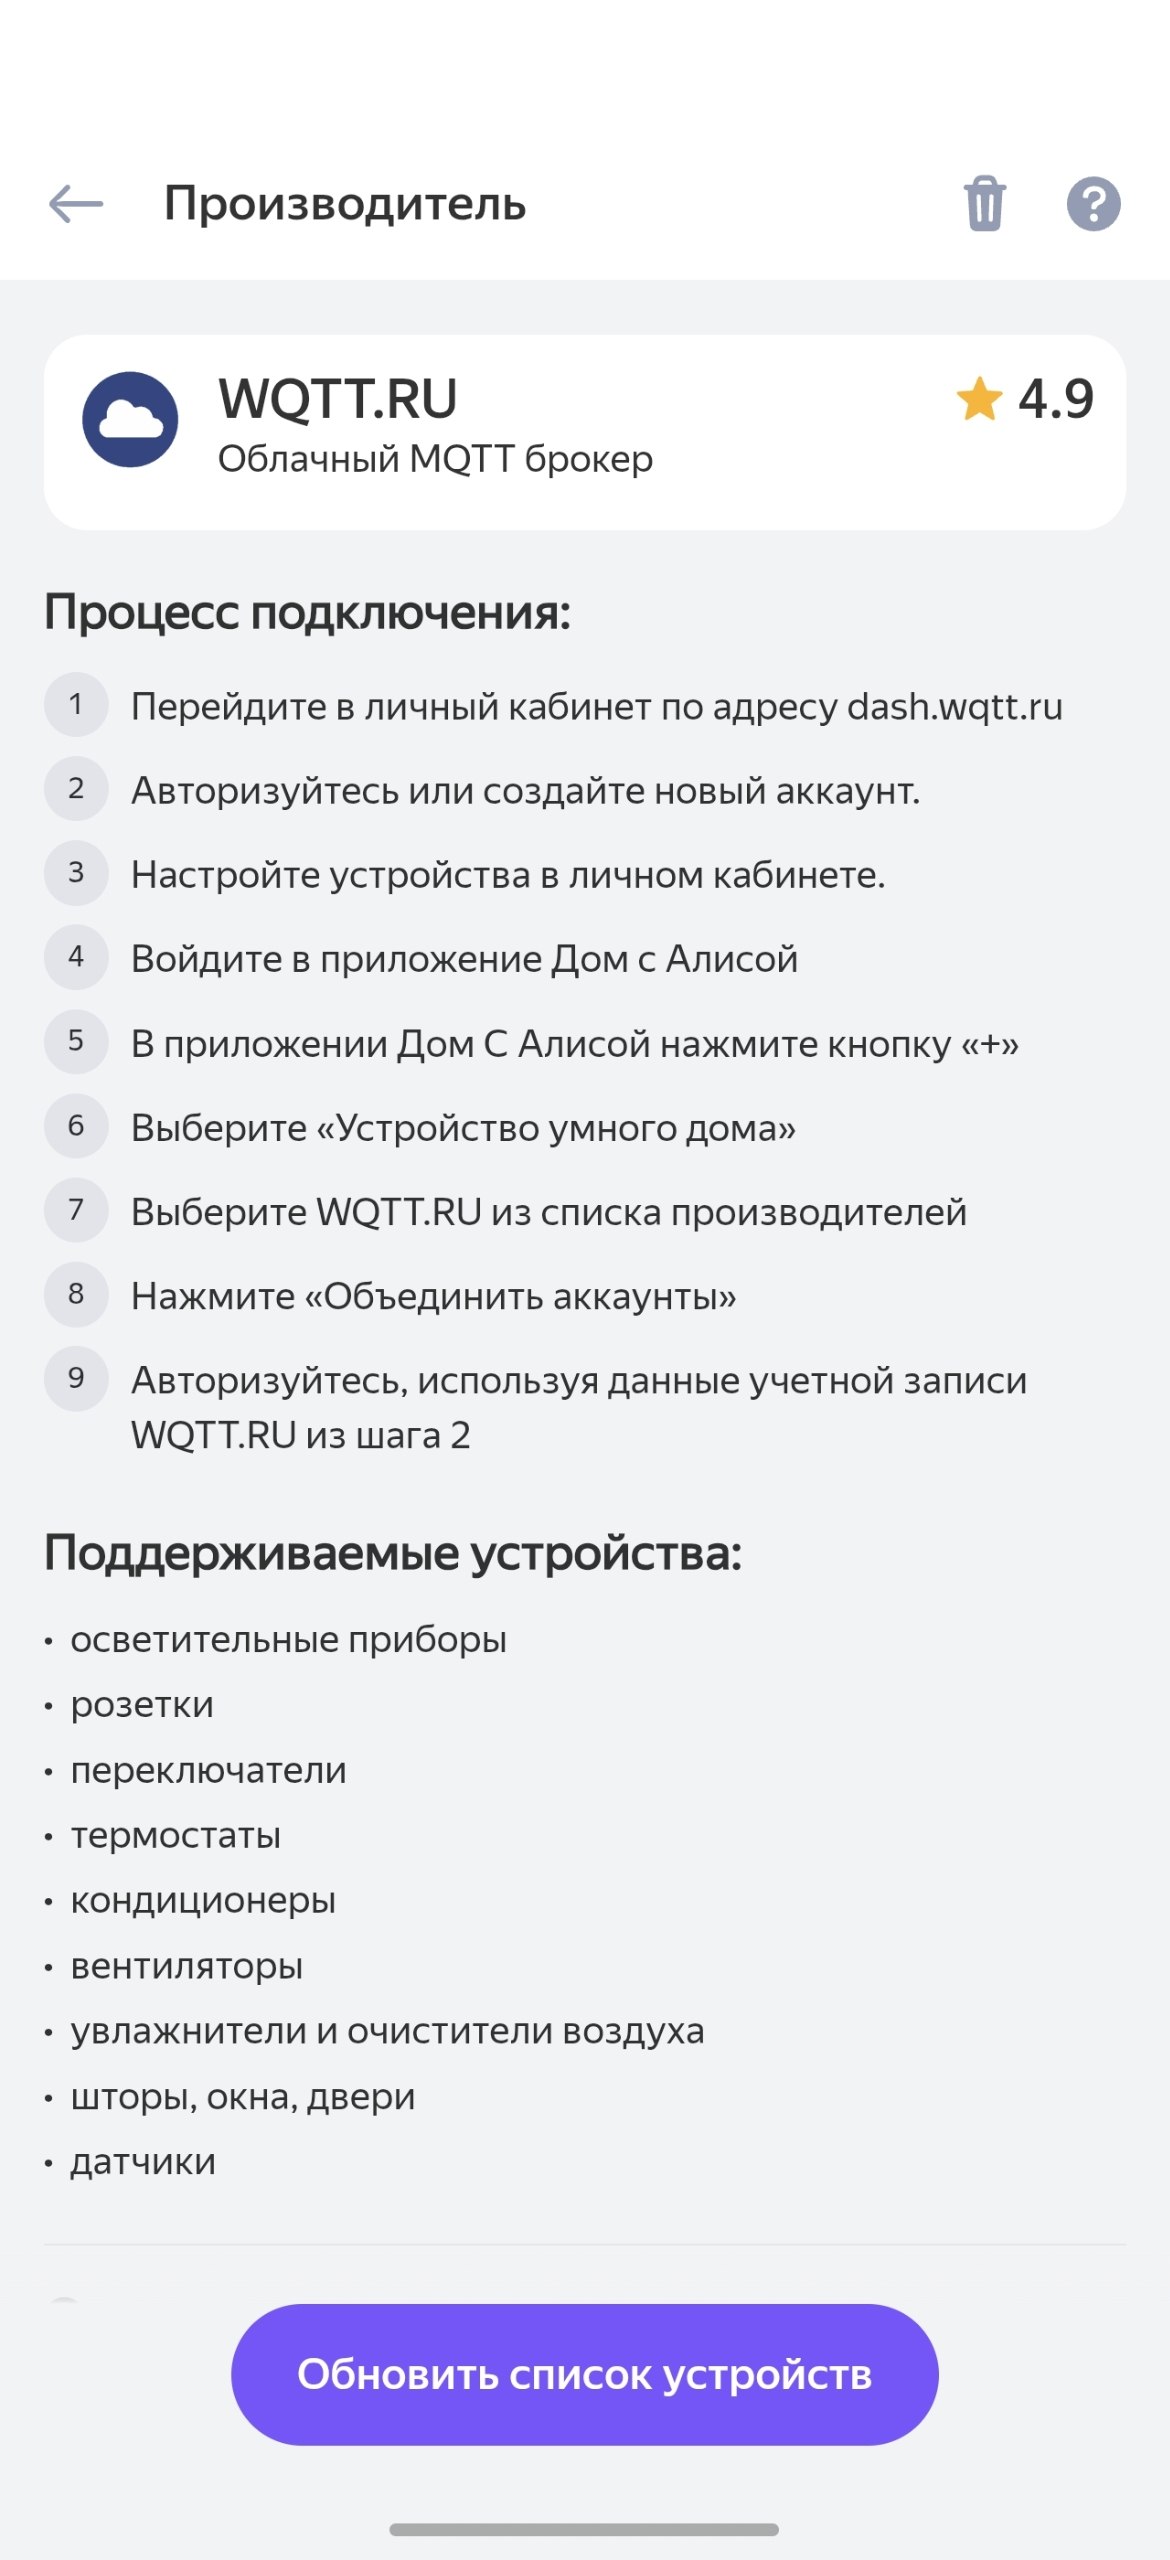
Alice connects through WQTT: enter your WQTT API token in the module settings, link your WQTT account in the “House with Alice” app — and you can control your air conditioner by voice. A step-by-step guide is in the WQTT/Alice section below.
Control through your local MQTT broker and Home Assistant. The cloud is used only for Alice voice scenarios via WQTT — your choice.
Once the ESP32 is installed in your air conditioner, you can update the firmware over the air. No need to take the unit apart again.
The firmware has been tested on air conditioners from Royal Clima, Midea, TCL, Haier, Hisense, Gree, Samsung NASA, Kentatsu, Ballu, Hommyn, Neoline, JAX, NewTek and others — the full model list is below. Compatibility depends on the board and the UART protocol, so one firmware build often fits several brands at once (Midea OEM).
Enter your air conditioner's manufacturer or model. If there's no exact match, send a request and I'll add the model to the compatibility list after checking it.
Models are grouped by firmware profile: chip, protocol and build status. The first models of each profile are shown right away; the full list is behind the “Show All” button.
Royal Clima is supported by these profiles: Universal firmware (ESP32-C6) — recommended; Universal Midea / TCL / Haier (ESP32-C6); Hommyn / Neoline / Midea — 0x64 (ESP32-C6, pins are configurable); Universal UART module (ESP32-C3).
Model examples: Royal Clima, Royal Clima RCI, Royal Clima RCI-TWA22HN, Royal Clima Gloria Inverter, Royal Clima RC
Midea is supported by these profiles: Universal firmware (ESP32-C6) — recommended; Hommyn / Neoline / Midea — 0x64 (ESP32-C6, pins are configurable); Universal UART module (ESP32-C3); Hommyn / Neoline (ESP32-C3, pins are configurable).
Model examples: Midea OEM, Midea OEM (older UART revision), Midea
TCL is supported by these profiles: Universal firmware (ESP32-C6) — recommended; Universal Midea / TCL / Haier (ESP32-C6); TCL UART (Matter ESP32-C6); TCL UART (Zigbee ESP32-H2).
Model examples: TCL, TCL ELI ONF 12, TCL Liferise ONF 09, TCL TAC-CT09INV/R, TCL One Inverter TACM-09HRID/E1
Haier is supported by these profiles: Universal firmware (ESP32-C6) — recommended; Universal UART module (ESP32-C3).
Model examples: Haier, Haier AS09TT4HRA
Hisense is supported by these profiles: Universal firmware (ESP32-C6) — recommended; Hisense / NewTek RS-485 (ESP32-C6).
Model examples: Hisense, Hisense AS-10UW4RYDTV02, Hisense AS-10UW4RYDTV02G, Hisense Expert Pro DC Inverter
Gree is supported by these profiles: Universal firmware (ESP32-C6) — recommended; GREE / JAX / Kentatsu / Lessar (Zigbee ESP32-C6); GREE / JAX / Kentatsu / Lessar (Zigbee ESP32-H2).
Model examples: GREE
Samsung is supported by these profiles: Universal firmware (ESP32-C6) — recommended.
Model examples: Samsung NASA (F1/F2), Samsung AC120MNMDKH/EU, Samsung AC120MXADKH/EU
Kentatsu (Kentatsu KSGU, Kentatsu KSGYK35HZRN1, Kentatsu KSRYK35HZRN1); Ballu (Ballu Discovery DC BSVI-07HN8, Ballu Discovery DC BSVI-09HN8, Ballu Discovery DC BSVI-12HN8); Daichi (Daichi AIR20AVQ1/AIR20FV1, Daichi AIR25AVQS1R-1/AIR25FVS1R-1, Daichi AIR35AVQS1R-1/AIR35FVS1R-1); Dantex (Dantex RK-12SATI/RK-12SATIE); Ecostar (Ecostar Radium KVS-RAD09CH); NewTek (NewTek NT-77HSDC, NewTek NT-77HSDC07, NewTek NT-77HSDC12); Hommyn (Hommyn); Neoline (Neoline NAM 07HN1); JAX (JAX, JAX ACY-09HE/R32, JAX inverter); Lessar (Lessar); Axioma (Axioma ASX09H1/ASB09H1)
Air conditioners with factory OSK102, OSK103, OSK302 or EU-OSK103 modules (the Syncleo dongle) are a typical sign of compatibility with the Midea OEM profiles.
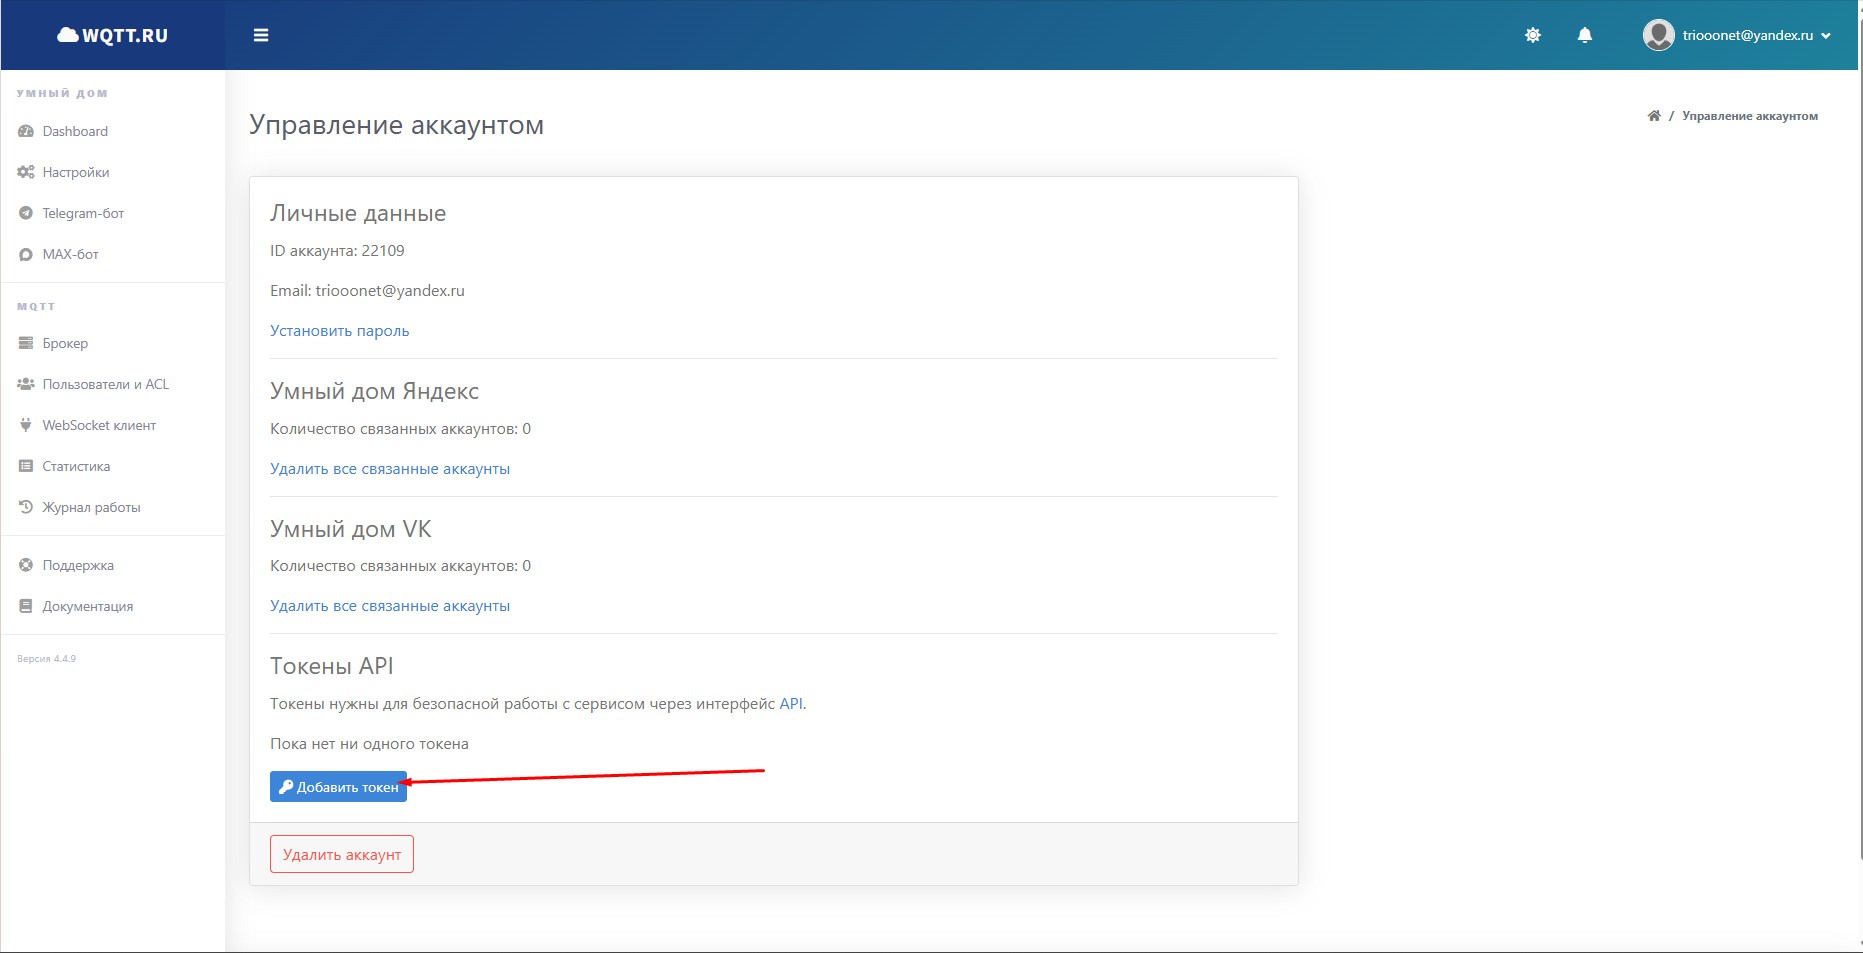
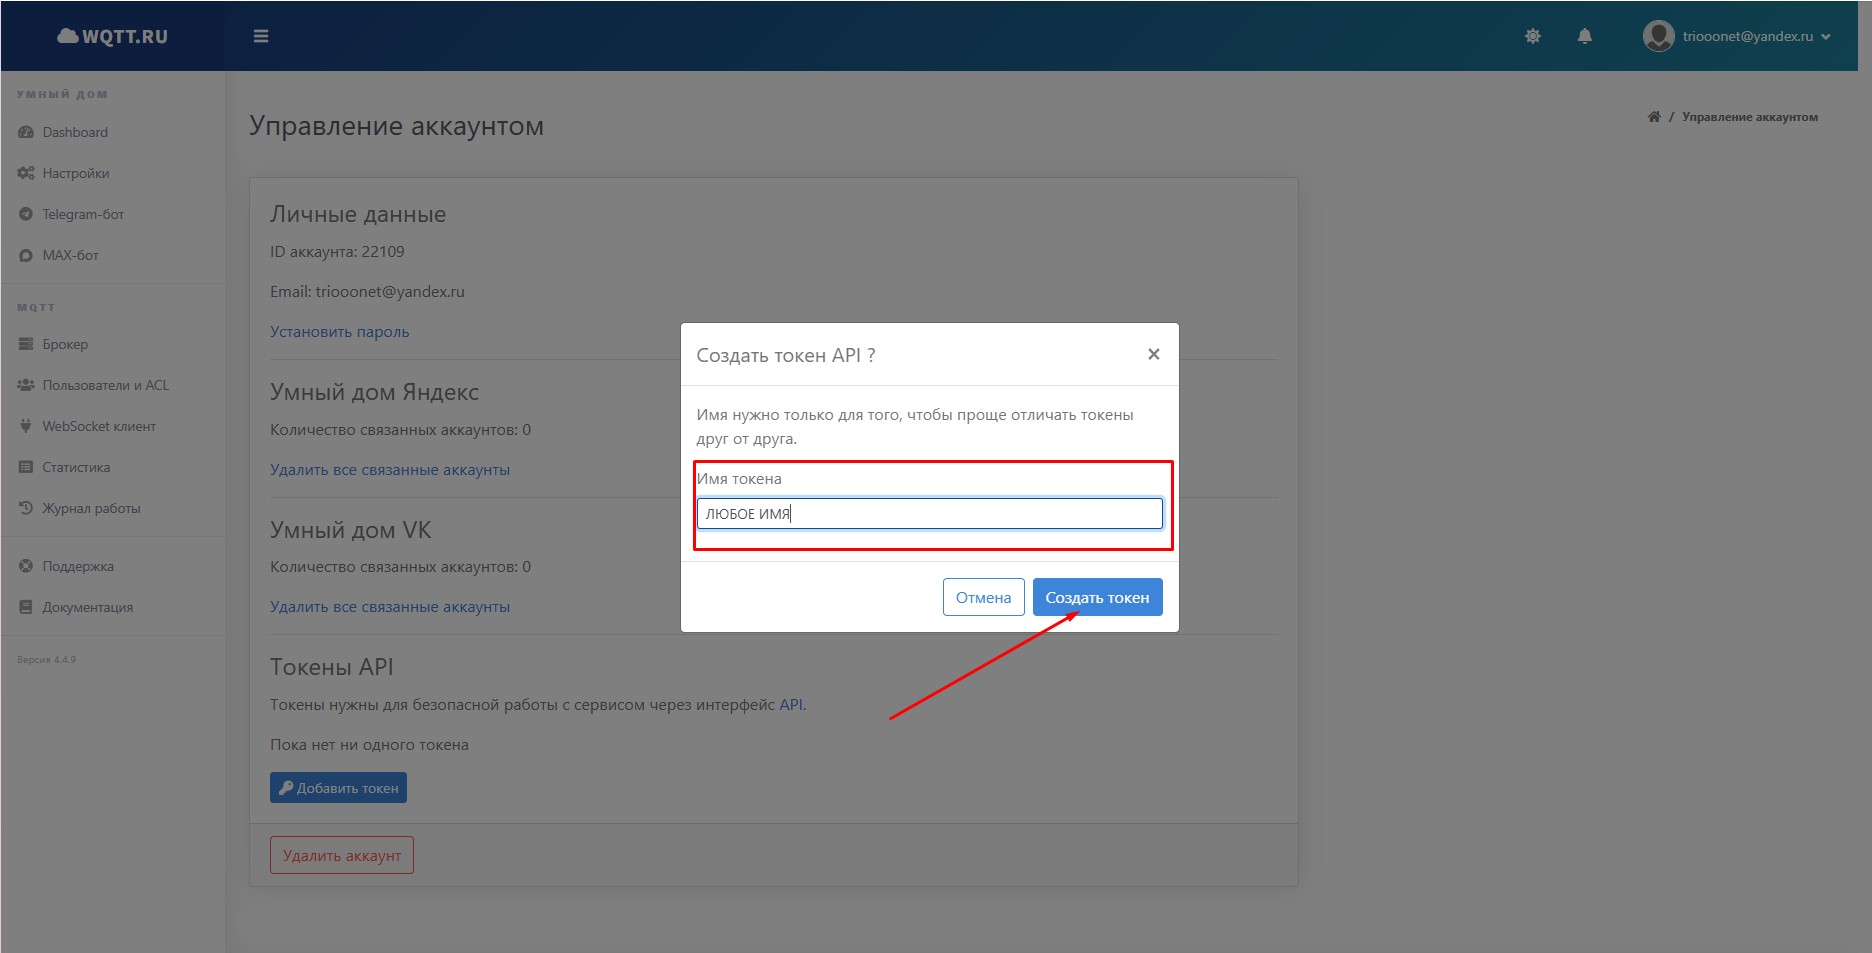
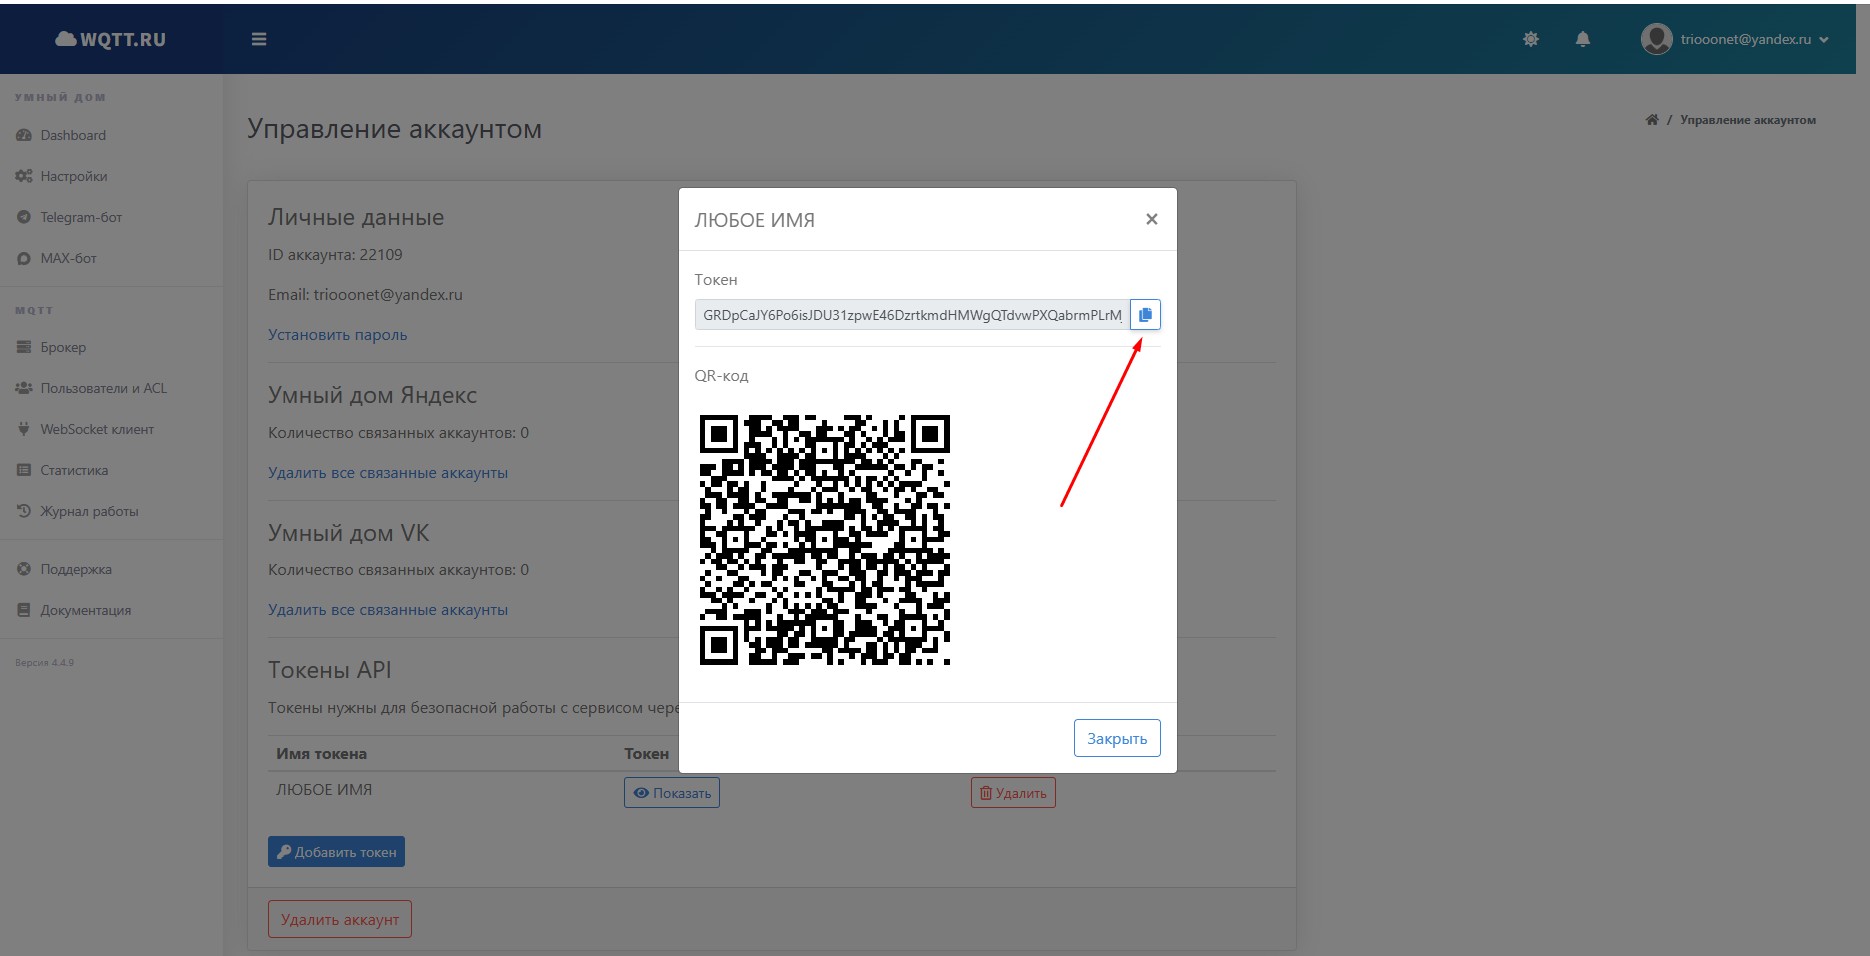
These steps are for the Wi-Fi firmware. First set up a WQTT account and API token, then flash the module, enter the token in the ESP settings and refresh the devices in WQTT/Alice.





5V power comes from the air conditioner indoor unit (usually available on the board). If there is no 5V, use an external supply and connect a common GND.
For current firmware ESP32-C6 Wi-Fi and Matter TCL: TX GPIO7 → air conditioner RX, RX GPIO6 ← air conditioner TX. For ESP32-C3 SuperMini: TX GPIO5 → air conditioner RX, RX GPIO6 ← air conditioner TX. The older test Matter Midea build uses a different pinout, listed explicitly on its card.
Profile overview: chip, protocol and build status. A good sign of compatibility is a factory OSK102 / OSK103 / OSK302 Wi-Fi module or the NetHome Plus, Midea Air or MSmartHome apps. The wiring diagram and pins are in the Wiring section above.
| Profile | Models | Chip | Status |
|---|
Try connecting the ESP32-C6 while holding the BOOT button on the board — that puts it into bootloader mode. Release the button once the port appears in the browser.
If the port still does not appear: check the cable (some USB cables are charge-only, with no data lines) and try another USB port. This works only in Chrome and Edge on a computer — mobile browsers do not support Web Serial.
Wait 10–15 seconds after flashing — the module reboots and brings up its AP. If the access point is missing, open the Serial Monitor at 115200 and check the logs after the reboot.
Make sure you picked the right air conditioner profile before flashing. If the profile was wrong, flash it again with the correct one.
Check the physical wiring: TX → air conditioner board RX, RX → TX. It must be crossed — that is the UART standard. Make sure GND is connected. For ESP32-C6: TX GPIO7 / RX GPIO6. For ESP32-C3: TX GPIO5 / RX GPIO6.
Check the baud rate: the firmware uses 9600 baud — the Midea standard. If your board uses a different UART, it may not match.
No. The firmware is built specifically for ESP32-C6 (RISC-V core, Matter/Zigbee radio). The classic ESP32, ESP32-S2/S3 and ESP8266 are not compatible — different architecture and peripherals.
You can buy an ESP32-C6 SuperMini on AliExpress for about $3–5. Search for “ESP32-C6 SuperMini” or “ESP32-C6 development board”.
Web Serial works only over HTTPS or on localhost. If you opened the page over HTTP, the browser will block access to the port.
Make sure the address starts with https://. Browser: Chrome or Edge (Firefox and Safari do not support Web Serial).
Many air conditioners sold under different brands use the same Midea OEM board. Try the “Royal Clima / Midea OEM” profile — it works for most brands: Royal Clima, Kentatsu, Lanzkraft, Abion and other Midea OEM brands.
If that does not help, send a request via the “Report a model” form. I will check it and add it to the compatibility list.
OSK102, OSK103 and OSK302 are common on Midea OEM air conditioners and compatible brands. If the factory module works with NetHome Plus, Midea Air or MSmartHome, it usually makes sense to start with the Royal Clima / Midea OEM profile.
The ESP32 plugs into the same UART connector the factory module used. Cut power to the air conditioner before connecting and check the TX/RX/GND pinout.
Some models from these brands use the Midea/TCL UART protocols, but compatibility depends on the specific indoor unit board. Verified models are added to the site's search database through the admin panel.
If your model is not listed, message us on Telegram or send a request. The UART log shows which profile you need: Midea OEM, TCL or a separate test profile.
Just connect the ESP32-C6 over USB and flash it again through this same page. The firmware uses OTA partitions — your existing Wi-Fi settings and WQTT token are kept if you use the same profile.
If you need to reset all settings, hold the BOOT button for more than 5 seconds while powering on.
Yes. Instead of a ready-made Wi-Fi module at 3000–7000 ₽, you can use an ESP32-C6 SuperMini — the board costs about 200–400 ₽ on AliExpress. The firmware is free and installs straight from the browser in 5 minutes, with no soldering or programming.
The result is the same: control via Alice, schedules, voice commands — but 10–20 times cheaper. Works with Royal Clima, Midea, Kentatsu and other Midea OEM brands.
Air conditioners using the Midea UART protocol are supported — that covers most budget and mid-range brands on the Russian market: Royal Clima, Midea, Comfee, MDV, Kentatsu, Ballu, Lessar, Lanzkraft, Abion, Dantex and other OEM models.
A quick compatibility test: if the shop sells a NetHome Plus, Midea Air or MSmartHome Wi-Fi adapter for your air conditioner, our firmware will almost certainly work. The list of compatible models on this page keeps growing.
Yes, since version 0.6.44. On Samsung NASA-series air conditioners (for example with the factory MIM-H04N Wi-Fi kit) the bus F1/F2 is RS-485, not a regular UART, so an RS-485 transceiver (MAX3485/SP3485) is required between the ESP32 and the air conditioner.
The “Samsung NASA” profile is detected automatically: passive detection from F1/F2 frames — the module transmits nothing on the bus until you send a command. You can also select the profile manually. Verified models: indoor unit Samsung AC120MNMDKH/EU and outdoor unit AC120MXADKH/EU. Control: on/off, auto/cool/dry/fan/heat modes, temperature, fan, louvers; statuses: room and outdoor temperature.
Only through an RS-485 transceiver — you must not connect GPIO pins directly to F1/F2 (it is an RS-485 bus and a direct connection can damage the board):
TX GPIO7 → DI (MAX3485/SP3485), RX GPIO6 ← RO, transceiver outputs A → F1 and B → F2, common GND. If needed, enable DE/RE direction control in the app (uart_de_gpio); the protocol runs at 9600 8E1 — the firmware will set the profile itself.
A DIY Wi-Fi module costs around 200–400 ₽: an ESP32-C6 SuperMini board from AliExpress plus three wires GND/TX/RX. No extra components needed.
For comparison, a ready-made branded Wi-Fi module (NetHome Plus, OSK102/103) costs 2500–7000 ₽ while offering the same features — phone control, voice control via Alice, schedules. Our firmware is free and open source.
WQTT is a cloud MQTT broker that lets you control the air conditioner through Alice without a server. Setup takes 5 minutes: register at wqtt.ru, enter the token in the ESP32 web interface — and the air conditioner appears in Yandex Smart Home.
Home Assistant — a full smart home system running on your own server (Raspberry Pi or NAS). More flexibility, but you have to deploy and maintain the infrastructure. Our firmware supports MQTT, so it works with Home Assistant as well — just specify your own MQTT broker instead of WQTT.
For Royal Clima (RCI, RCI-TWA, TRIUMPH and other Midea OEM series), select the “Royal Clima / Midea OEM” profile on this page. Connect the ESP32-C6 to the air conditioner board's UART connector: TX GPIO7 → RX, RX GPIO6 → TX, GND → GND.
Once the firmware is flashed and Wi-Fi is configured, the air conditioner will appear in the WQTT app and in Alice. Controls: on/off, temperature, mode, fan speed, louver swing, Turbo/Quiet.
The universal firmware (ESP32-C6) detects the air conditioner protocol on its own: Midea, TCL, Haier (SmartAir2 and hOn), Hisense (RS-485 via HW-519), Gree and Samsung NASA (F1/F2, RS-485). You do not need to pick a protocol on the website — select the ESP32-C6 board and click “Flash”.
After flashing: power up the module, open the PirogovX Climate app, add a new device and choose automatic detection. The app will pass the Wi-Fi settings over, and the module will detect the protocol on its own.
For some Midea models, the app may ask you to press LED on the remote control 7 times in a row until AP appears on the air conditioner display.
Yes. The Zigbee builds (ESP32-H2 and ESP32-C6) connect to Home Assistant via Zigbee2MQTT: add the external converter esp-ac.js and run Reconfigure on the device. The air conditioner will appear in Home Assistant with control over temperature, mode, fan and louvers, plus temperature telemetry.
The Wi-Fi builds work over MQTT: you can use your own MQTT broker or the cloud WQTT. The Android app can control Home Assistant climate entities directly.
Yes. Local control works without WQTT and without the internet: the app controls the module over the local network, and scenarios run on the ESP itself.
The cloud (WQTT) is only needed for Yandex Alice and for remote access from anywhere.
Signs of compatibility: the air conditioner has a UART connector for a stock Wi-Fi module, an original OSK102/OSK103/OSK302 module, or the original NetHome Plus / Midea Air / MSmartHome app.
Look up your model in the search on the page or in the compatibility list; if it is not there, submit a request via the “Report a model” form. We will use the UART logs to determine the right profile.
Yes, there is a PirogovX Android app for that: it is published on RuStore, and you can download the APK on this page. The module is set up over Bluetooth or through its Wi-Fi access point, after which you control temperature, mode, fan and louvers — locally or through Alice.
Yes, through WQTT. Enter the WQTT API token in the module settings, then link your WQTT account in the “House with Alice” app — the air conditioner will appear in the device list.
A step-by-step guide is in the “WQTT/Alice” section on this page.
The main recommendation is the ESP32-C6 SuperMini: for the Wi-Fi, Matter and Zigbee builds. The ESP32-C3 SuperMini is used in some Wi-Fi builds (TCL, Hommyn/Neoline), and the ESP32-H2 only in Zigbee builds.
A regular ESP32, the ESP32-S2/S3 and the ESP8266 are not suitable.
No. The firmware is installed from the browser over USB (Web Serial), with no soldering iron and no programming.
Connecting to the air conditioner board takes three wires — GND/TX/RX — to the UART connector.
The project is free — hundreds of hours of development, testing and support. Donations help buy new modules for testing and add support for new brands: Gree, Haier hOn and others.
Support →